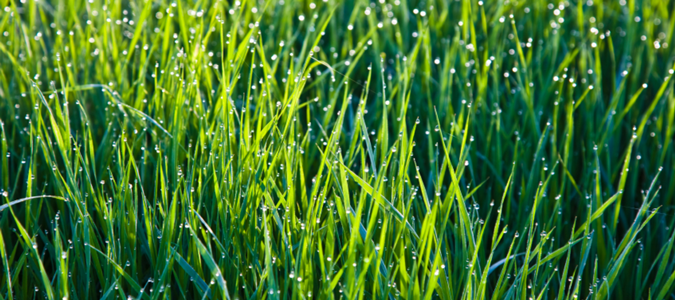
The grass can be greener, after all.
Do you dream of a soft, lush lawn, where you can relax with your family on sunny days? Are you wondering how to make that dream a reality? Laying sod is your best option. Sod gives you instant visual gratification, but it is costly and requires work and resources to make sure it grows successfully. We put together a list of tips to help ensure the sod you lay turns into a beautiful lawn.
1. Select a sod appropriate for the area.
There are a handful of grasses that perform best in our Central Texas climate – St. Augustine, Zoysia, Buffalo, and Bermuda. These grasses require varying levels of water and maintenance, and they have distinct differences. St. Augustine performs well in shady areas. Zoysia grass is quite hardy but takes some time to establish. Buffalo grass requires the least work, but it is not the prettiest of grasses. Bermuda grass is resilient but requires a lot of maintenance. Before choosing sod, think about the different areas in your yard and which sod might be a fit.
2. Prepare the soil in your yard.
Once you have determined which type of sod you might use, you can prepare the soil in your yard so the sod will grow and thrive. Whether you are planting on bare soil or existing grass, be sure to remove weeds, rocks, and any other obstructions. Use a rototiller to loosen up the soil, and then lay about 1 inch of compost and level the area. If you are laying on existing grass, use an aerator and then lay compost on top of the grass. For both preparations, make sure the soil is moist before laying the sod.
Additional tips on preparing your soil.
3. Lay the sod using correct techniques.
Start by laying the sod alongside the longest, most straight line in your yard – generally against a sidewalk or driveway. As you lay the sod, stagger the sod pieces as if they were bricks on a wall. Make sure the edges are as close as possible without overlapping. You’ll need a sharp knife or sod cutter to cut through the sod.
4. Water the sod carefully – not too much, not too little.
Upon installation, water the sod with 1 inch of water. To check that the soil below is moist, you can pull up the edges of the sod and stick a screwdriver into the soil to check for moisture. Ensure that whatever type of watering system you are using – a hose, manual sprinklers, or an irrigation system – is delivering water to all of your sod. With an irrigation system, you can do this by turning it on and placing similarly sized containers throughout the area, to determine how much water is collected in different locations. Water early in the morning, and aim for once per day watering sessions for the next two weeks.
Learn more about watering sod.
5. This one is important: Keep up with regular maintenance.
Once the sod is established, perform regular maintenance to keep your lawn healthy. The amount of mowing, the optimal length of the grass, and watering schedule will vary based on the type of grass. Keeping up with these activities will help you naturally avoid pests as well.
Using the right techniques and materials, you can turn your yard into a beautiful lawn that will generate years of enjoyment.