Updating a room with a new coat of paint is an inexpensive and relatively easy way to redecorate the whole house. Painting is a great home project—with just a roller, a can or two of paint and a few hours of your time, you can freshen up your space. But many people decide to forego painting the trim, since it seems like more of a detailed project requiring lots of precision and attention to detail. The mere idea of taping it all off is enough to turn some people off! The good news is, it’s actually fairly simple to learn how to paint trim without tape and make it look great. All you need is a few simple tips and tricks to make sure you’re doing the job right. If it turns out to be too big of a job, you can call in a professional to ensure that it will be done quickly and correctly so you can enjoy all the benefits of a bright, new living space with clean, uniform borders, without any of the hassle.
Many people with experience in painting walls or trim in their homes typically use blue painter’s tape to mark off the edges. What some people may not realize is that most painting professionals actually paint without tape. This is because they know that with just a little care and know-how, they can skip the time and trouble of taping off a room and actually create cleaner, sharper lines along the edges of the space they’re painting.
If you choose to use tape for your painting project, make sure to use painter’s tape, since it is easily removed and won’t leave sticky, unsightly adhesive residue behind. When you’re applying it, take care to press down firmly along the side of the tape closest to the area to be painted. This will help to prevent tiny gaps that might allow paint to seep under the tape while you’re painting.
Once you’ve laid drop cloths over the floor and got all the edges taped off, it’s time to paint the first coat. If you’re painting trim, most people like to use a glossy interior paint; for walls, most prefer a finish somewhere between flat and satin. Use a paintbrush to paint trim; if you’re painting the wall, you can also use a paintbrush around the edges to paint a border strip that is at least two inches wide before switching to a roller for the larger areas. Paint right up to the tape and overlap it just a bit. Try not to use too much paint on this first coat; a thinner layer is better, to prevent drips and seeping. Let the first layer dry completely before applying another, and don’t remove the tape until the second layer has dried completely as well.
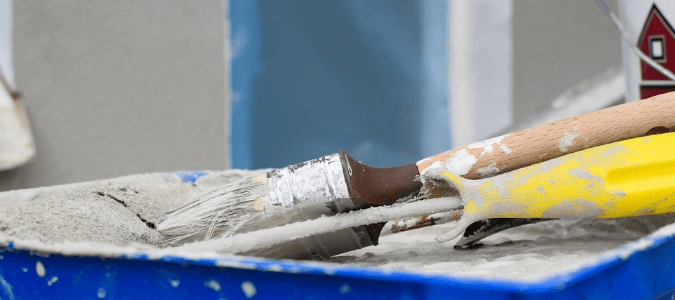
If you choose to forego tape and paint without it—which is called cutting in, or the cut-in method—all you need is a paintbrush and a steady hand. There are several benefits to cutting in, such as less time, materials and money spent on prepping the wall or trim before you start to paint. Most people familiar with painting trim without tape like to use either a basic two-inch paintbrush or a special, angled brush called a sash brush, along with a small, straight-sided bucket called a cut bucket. You can purchase a cut bucket at your local home improvement store or make your own simply by using a can opener to cut the edge off a regular paint bucket, to remove the interior lip.
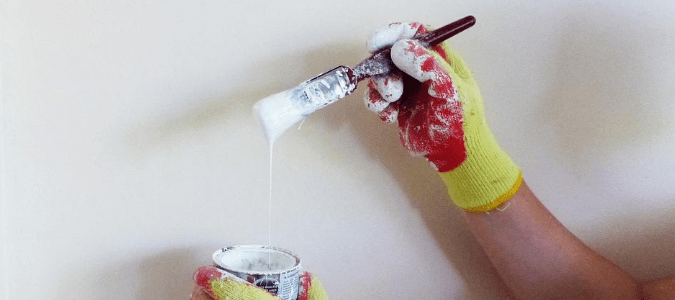
Pour a half-inch to an inch of paint into the cut bucket; this is what you’ll carry and use to reload the paintbrush as needed. Dab your paintbrush into the paint and then remove as much excess paint as possible by brushing it off against the cut bucket’s edge. Next, grip the paintbrush not by the handle, but by the wide part of the brush, near the bristles. Then set the bristles against the surface you’re going to paint, and press enough to make the bristles form a wedge with a sharp edge. As you start pulling the bristles along the edge of the wall or trim, the bristles will move into a fan shape. You’ll notice that the line of paint being transferred is created by the very outermost bristles.
A good technique for people new to the cut-in method of painting trim without paint is to move the brush in a series of crescents rather than one, straight, continuous line. The very tops of these crescent movements will reach the edge of the wall or trim that you’re painting, and then pull back. If you make enough crescents close enough together, they will end up forming a straight line together. With practice, you’ll be able to switch from multiple crescents to one long line with the brush.
If you accidentally get paint in a spot where you didn’t want it to go, use a clean, damp rag to wipe it away. Do this right away if possible, since it’s harder to remove unwanted paint as it dries. If you’re using the cut-in method to paint a wall, you can paint a narrow border around the edges with your brush and then widen it to a couple of inches before switching to a roller for the broader part of the wall. If you’re painting both walls and trim, you’ll want to paint the trim first if you’re using painter’s tape, but if you use the cut-in method, it’s up to your own personal choice which you prefer to paint first. As with any painting job in a home, be sure to remove anything beforehand that you don’t want to paint over, including electrical outlet covers and light switch plates.
When it comes to painting trim, homeowners often have more questions than just how to paint trim without tape. Keep reading to learn how to paint trim in a carpeted room and whether or not you need to sand down trim before painting it.
How To Paint Trim With Carpet
Learning how to paint trim with carpet is simple enough for homeowners who relish a project that may require some time and precision, but which offers a lot of satisfaction once it’s done right. It can certainly be trickier to paint trim in a room that has carpet, as you have to be more careful not to drip paint on the carpet as you work. Painting trim in a room with hard floors is a relatively easy home improvement project, since you can just wipe away any dripped paint with a damp rag; carpet, on the other hand, soaks in the paint almost immediately, and trying to wipe away dripped paint will only typically result in spreading it further. That’s why it’s smart to learn the steps of how to paint trim with carpet beforehand, so you have a better chance of getting your desired end result.
Before you start painting trim near carpet, first you should prep the trim by cleaning it. Some people also like to sand it first. This is a personal choice that depends on your willingness to take additional steps as well as whether you’ll be using primer on the trim before painting it. The next step is to tape off the carpet; for this job, wider painter’s tape is better than narrow. Pull off a strip of tape no longer than two feet and lay it with the non-sticky side against the trim; then use a putty knife to press the tape down onto the carpet, making it stick to the surface of the carpet as close as possible to the baseboard. Continue in this manner along the entire length of baseboard to be painted.
Once you’ve taped off the carpet, it’s time to paint the trim. You can use a foam brush or one with nylon bristles; just make sure it’s no wider than two to three inches, since a wider brush makes it harder to control the paint. Many people find a two-inch sash brush (an angled brush with nylon bristles) to be the best brush for painting trim. When you load your brush with paint, be sure not to overload it. You can drag it against the side of your paint bucket to wipe off the excess. If you’re painting the trim with the same color paint it had before, a single coat may be enough; if you’re changing colors or painting over major discoloration, however, you may need to apply two coats. Be sure to wait for the paint to dry completely before you paint a second coat or remove the tape.
Many people find painting trim near carpet to be a job best handled by a professional handyman with the tools and experience needed to ensure the home renovation project is done right and that your carpet isn’t damaged or discolored by paint splotches.
Can You Paint Wood Trim Without Sanding First?
Many people balk at the idea of doing all the work of sanding the wood before starting the process of painting, which is time-consuming in itself. If you are wondering, yes, you can paint wood trim without sanding first, as long as you do your research beforehand to ensure a good final result. Fortunately, if you use a good bonding primer product as your first coat on the trim, you can follow up with paint that will be long-lasting and beautiful, and skip the sanding altogether.
There are several options to choose from when it comes to primer and paint for wood trim. You can even use adhesive chalk paint if you don’t mind a matte interior paint finish, since it has the ability to stick to many types of surfaces, which makes it great for painting wood without sanding. Many people decide to use a traditional bonding primer product before painting; these products come in cans that look a lot like paint cans, and are brushed on with a paintbrush. They bond well even to glossy surfaces, including previously painted or lacquer-finished wood, and dry quickly, enabling you to follow up with the paint of your choice for finishing off the wood trim and making it beautiful.
Other choices include mixing milk paint with a bonding agent; this is a good option for people who don’t want to be exposed to the chemicals that are in traditional bonding primers, and who want to apply only one or two coats. Mineral paint is another option that provides a durable finish, but it tends to be pricey.
For some, having to choose a particular type of paint and finish, or select a primer to apply before following up with paint, is enough to make a painting project involving wood trim seem like too much trouble. If this describes you, don’t worry! Hiring a professional to tackle the job is a great way to ensure that the job’s done right, and as efficiently as possible. Hiring a pro makes a lot of sense, since painters have the right tools and know-how to make sure the end result is beautiful, high-quality and long-lasting.
ABC Can Handle Any Painting Project
There are a lot of considerations when it comes to painting and, without proper expertise, you could still end up disappointed when you are done. Instead of spending your free time collecting the proper tools and learning painting techniques, contact the handymen at ABC Home & Commercial Services. Our professionals are highly skilled and would be happy to help with any painting project you have in mind, whether it’s something small like painting trim or a more involved project such as adding a different type of texture to your walls.