Grout and caulk are two completely different substances, each with its own use and function. If you live in a home with an older bathroom, you may use one (or both) to make a repair or install a new bathtub, toilet or fixture. Do you know when you should use grout or caulk around your tub?
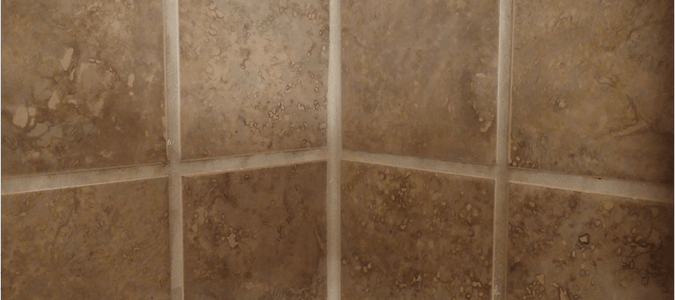
Grout is a mixture of water, cement, sand and sometimes fine gravel. This paste can be tinted different colors and is often used between tiles. Grout keeps water out and gives your walls and floors a cleaner look. Grout requires a crevice to “hold onto” and can prevent tile edges from chipping. Since grout doesn’t contain latex, it can crack with movement. Years of use can leave grout looking discolored and dirty.
On the other hand, caulk is silicone, acrylic or latex-based, so it’s both flexible and waterproof. Caulk is strong enough and pliable enough to adhere two different types of materials, joints and corners to seal areas where air and water can leak. Homeowners can use caulk in several different ways, including around a bathtub. You can use caulk to prevent water damage near drains, pipes, bathtubs or bathroom fixtures or for weatherproofing around doors and windows.
When considering a bathroom remodel or just performing maintenance around your bathtub, it’s important to know the difference between the grout and caulk and the best use for each substance. In this post, we’ll explore common questions homeowners ask handymen, including whether you can caulk over grout, what to do when you notice a gap between your bathroom tile and your tub, if you can use grout or caulk between your floor tile and your tub and why you shouldn’t replace grout with caulk.
Can I Caulk Over Grout?
One question homeowners often have is whether they can apply caulk over areas with grout. Caulk is usually applied around the perimeter of the bathtub where your tiles meet your tub. In those cases, you will likely apply some caulk in places where you also have grout. That said, a handyman wouldn’t recommend sealing cracked grout by placing a line of caulk over it.
The reason you don’t want to repair grout with caulk is that you can unknowingly create the perfect breeding ground for mold. Over time, your caulk can shrink and dry out, at which point it loses its ability to create a strong seal. When the material becomes compromised in this way, mold can get behind the caulk and start to grow. If left unchecked, mold can spread behind your walls or on your subfloor.
When this happens, you will have a much bigger problem than just removing caulk or grout. If you see the caulk around your tub starting to age or you see mold growing, you’ll want to remove and replace the existing caulk. A sign that you should replace your caulk is when it starts to curl up at the corners or turn brown.
If you decide to remove existing caulk, you’ll need to follow these steps:
- Using a plastic razor made for auto detailing or a triangular carbide grout removal tool, remove the existing caulk. Place blue painter’s tape on either side of the existing caulk line and avoid using metal tools to help protect the surface of the tub from scratches.
- If you are having trouble removing your existing caulk or if you know your caulk is made of silicone, which is particularly difficult to remove, cut into the center of the caulk and carefully cut up and down to the edges.
- If the caulk still doesn’t come out, use a razor blade to cut each side of the caulk line and pull up or tear away as much as possible until the majority of the caulk is gone.
- Use a non-abrasive dry pad to remove any remaining residue. If your surface is plastic, a damp soft rag may be more effective to remove any dust or leftover debris.
- Remove any painter’s tape you may have applied.
- Dip an old toothbrush in bleach and scrub along the grout lines and surrounding areas. Let this area dry for 24 hours. You can also speed up this process with a hair dryer or another type of fan.
After you remove old, cracked or damaged caulk, you’ll want to replace it. To add new caulk, you’ll need to:
- Wash the area with a degreaser, then dry the surface.
- Apply acetone to the area where you want to apply your caulk to ensure optimal adhesion.
- Retape the area using blue painter’s tape to avoid scratching your tub.
- Apply new caulk with a caulk tube placed inside of a caulk gun. You will get better results with a product which is silicone, since it is mildew resistant and designed for bathrooms. Although it sounds like the best tool for the job, tub caulk can fail in wet conditions, and sanded latex caulk is vulnerable to mold growth.
- Place the caulk tube at a 45-degree angle to the area which you want to seal. Squeeze a consistent amount of caulk along the seam.
- Contrary to popular belief, you don’t want to wet your finger or thumb to get a smooth and clean look, since this added moisture can make it more difficult for your caulk to adhere.
- Carefully remove the painter’s tape while the caulk is still wet.
You can also use clear silicone over existing grout to seal hairline cracks in corners. You’ll only want to do this if the grout is in good condition and if you clean the surface, dry the area and apply acetone.
Don’t be frustrated if the end result doesn’t look as nice as you expected. With practice, you can improve your technique and produce a consistent, clean line of caulk. You may opt to outsource this project to a handyman who can do the job quickly and well.
After you replace your caulk, you may also notice that you may have a gap between your tile and tub. Is this a problem, and if so, what should you do about it?
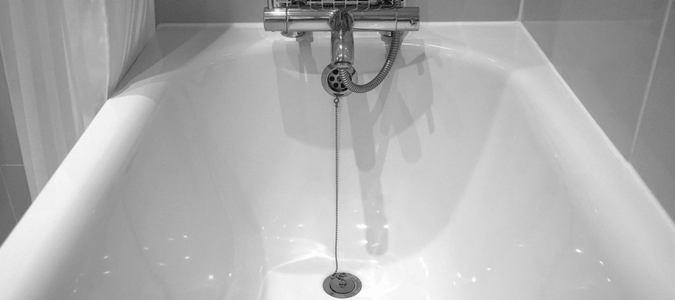
Is A Gap Between My Tile and Tub A Bad Thing?
Many bathrooms are built with an intentional gap between the wall tiles and the bathtub. This expansion joint allows for natural shifting and movement which can occur in your home over time.
Most of these cracks can be sealed with caulk. Doing so will prevent moisture from accumulating, which can also protect against the growth of mold and mildew. To seal gaps up to a quarter-inch in width, apply sanded caulk that matches your grout. If the crack is up to a half-inch in size, you’ll need to apply two side-by-side beads of caulk to fill the hole and then join them when you smooth out the caulk with your wet index finger or thumb.
For large gaps, insert a backer rod first before you apply your caulk. Make sure to purchase a rod which is nonporous and designed for use in wet areas. After you have pushed the backer rod into place, apply caulk on both sides of the rod to secure it in place.
In some cases, you may need an L-shaped tub flange to fill in a gap between the wall and your bathtub. The vertical portion of the flange will point towards your ceiling, while the horizontal part will attach to your tub’s edge. On top of this edge, you can install a tile or tub surround to hide the joint. You can then apply caulk along the top of your flange to seal the surface and to give your bathtub a more finished look.
Grout or Caulk Between Floor Tile and Tub: Which Is Better?
Similar to the gap that can exist between your wall tile and tub, you may have a space between the floor and your bathtub. This gap may widen over time as your home shifts. As with any other gap near your bathtub, you’ll want to close the opening to prevent any possible water damage or the onset of mold and mildew.
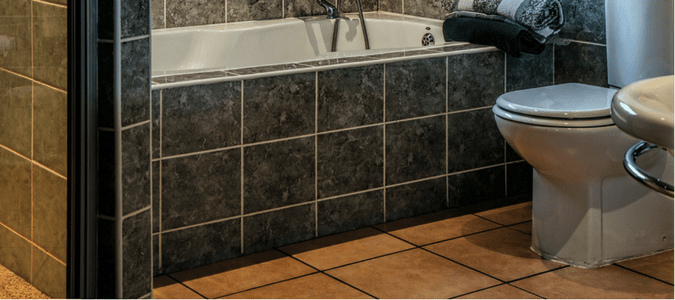
Since you are joining two different materials together, you should use caulk in the space where the floor tile and tub meet. Grout is not flexible, so it’s not the best material for the job, while caulk allows for movement and also provides a better sealant.
If mold gets into that space, it can cause damage to your subfloor. If you see mold forming around where your floor and tub meet, treat it with a mold-killer after removing the existing caulk or grout. Let the area dry the area for the minimum of what the moldicide recommends, which is usually at least 24 hours, before applying new caulk.
Some contractors grout the space between the tile and tub. As a home settles, however, grout can crack. If this happens in your home, remove the grout and replace it with caulk. As we mentioned earlier, you can find different colors of caulk at your local home improvement store to match your grout.
Can I Replace Grout With Caulk?
Grout does serve an important purpose. Grout can help protect tile edges, fill any voids and keep debris out of the spaces in between tiles. If your grout isn’t mixed with latex, however, the substance is porous and therefore not waterproof. Epoxy grout is more flexible than standard grout. This substance works well to join tile together and makes for a pretty, even finish.
If you discover that grout was used in your home in places where caulk should have been, including along your tub’s edge or in corners, then you should remove it (or have a handyman do so) and replace it with caulk.
To remove cracked or moldy grout, whether to put in new grout or replace it with caulk, you’ll need to follow these steps:
- Purchase an oscillating multi-tool.
- Use a blade that is intended for tile grout.
- Run the tool along the existing grout seams (horizontally for horizontal lines and vertically for vertical lines).
- If there is still grout remaining along the tile, carefully angle the blade to remove the remnants. Work slowly so you don’t damage your tile.
- You can also use a flat-head screwdriver to remove the chunks of remaining grout that you can’t dislodge with the multi-tool.
- Remove any remaining grout with a utility knife.
- Use a shop vacuum to clean up the grout and any accompanying dust as you work and after you finish the job.
After you’ve removed the grout, you can follow the directions we outlined earlier to apply new caulk to the area. Remember to work quickly, since caulk can become tacky when exposed to air for longer periods of time, making it difficult to get that smooth finish.
ABC Is The Answer To Your Handyman Questions
Getting caulk to that perfectly smooth and even finish can be difficult when you don’t do it regularly. The professionals at ABC Home & Commercial Services can help you with any of your handyman needs, including any caulking or grout work you need in your bathroom or kitchen, as well as crossing other items off what can sometimes seem like a never-ending home to do list. Schedule a service today to get an experienced handyman over to help out.
